You can download the custom WP UO Client Installer for free from the following location:
Click HERE to Download the Custom Client
Note: If you prefer the original non-colored spell icons, you can download an alternate installer HERE
The installer is hosted in the cloud on Google Drive. You will get the following message that Google cannot scan the installer. Not to worry though, your computer's anti-virus software will scan it upon download. Click "Download Anyway".

Once the download has completed, double click the WPUO2016.exe file. Depending on your version of windows, you may get the following warning (or something similar, depending on windows version. The warning is different in windows 7, 8 and 10):
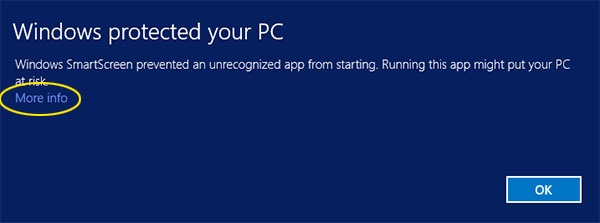
Click "More Info" and you will get the following screen:
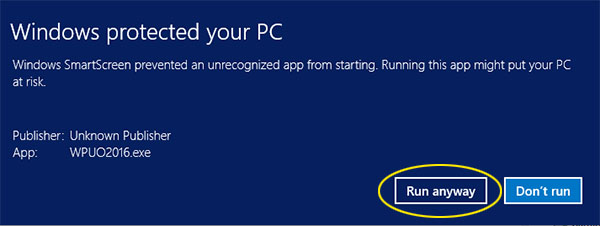
Click "Run Anyway" to continue.
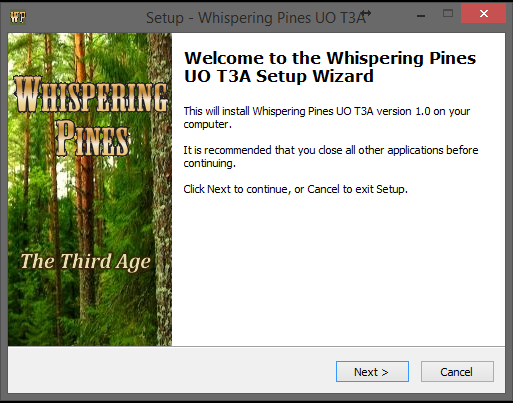
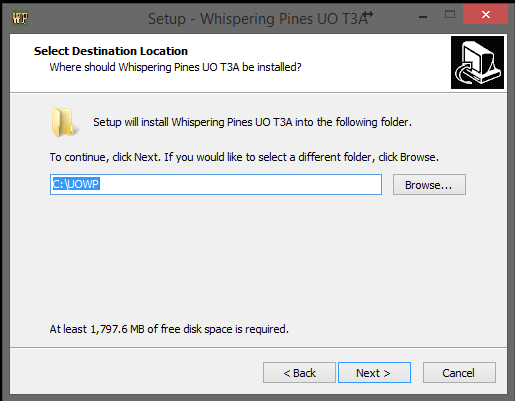
Click "Next". The installer will then ask you where you wish to install the Ultima Online client. You can use the default location c:\UOWP (recommended), or choose a location of your own.
Have the installer make desktop icons for you. It will then make one for the client, for UO Auto Map and for the website. You can use the client icon on the desktop to start the client, or if you wish same extra functionality (macros and other automation), proceed to Step 2, Get Razor(recommended).
Note: If you start the client with the Decrypted_client.exe, when windows asks you to allow it through the windows firewall, you must allow it or things will not work correctly
Note: There have been reports that some antivirus programs are indicating that the file may contain links and folders that have viruses in them. These files have been checked and re-checked and have been determined to be virus free and safe to download. The antivirus programs are giving false positives.
STEP 2 - GET RAZOR [optional]
Razor is software we can use to launch the UO client and offers many things which can enhance your gameplay including saving of login credentials, macros, screen and video capture, a dress/undress feature, skill listings, and much, much more.
Razor can be downloaded here:
Download Razor
Double click the EXE file to install it.
NOTE: If, during installation it asks you to download .NET 3.5 (or other .NET files), let it do so.
After it's splash screen, you will be presented with the following window:
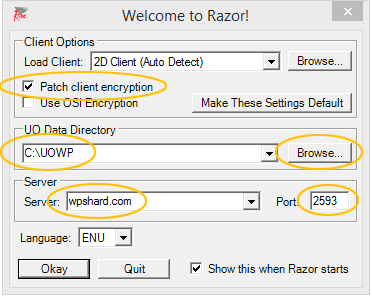
Make sure that Patch Client Encryption is checked
DO NOT check "Use OSI Encryption"
IMPORTANT!! Use the "Browse" button to change the UO Data Directory from (Auto Detect) to the directory where the new client was installed (the default location is c:\UOWP)
Set the Server to wpshard.com
Set the Port to 2593
And then click Okay and Razor will automatically launch the UO Client. Proceed to Step 3.
Note: If you start the client with Razor, when windows asks you to allow client.exe through the windows firewall, you must allow it or things will not work correctly
STEP 3 - LOGIN AND CREATE YOUR FIRST CHARACTER
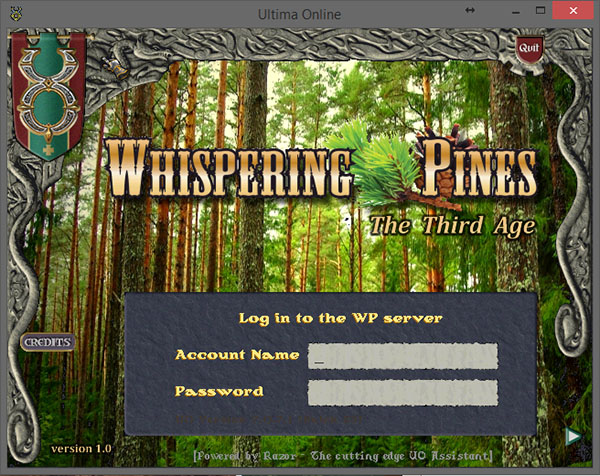
At the UO login screen, you may choose any username and password you like, but choose ones you will remember. Razor should save these values, but remember them just in case. If you already have an account on WP, just enter your existing credentials.
If this is your very first time logging in with the new client, you will get the following Windows Security Alert:
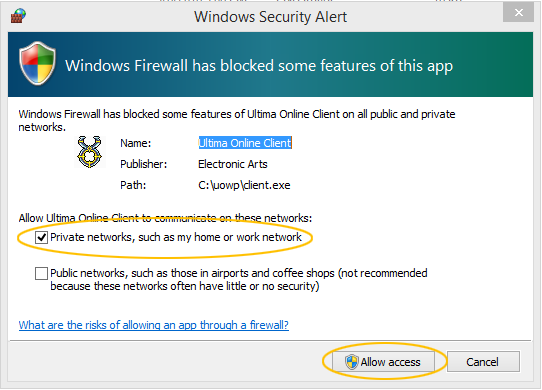
Make sure "Private networks...." is checked and click "Allow access". If you are installing on a laptop you will be traveling with, you should also check "Public networks...."
Note: You must allow access through the windows firewall, or things will not work correctly
Note: If you are stuck at Client Verification, go to Windows Firewall and double check that the client.exe and the Decrypted_client.exe from our installation of UO have been allowed through the firewall

Intermediate login screen, click the green arrow in the lower right hand corner.
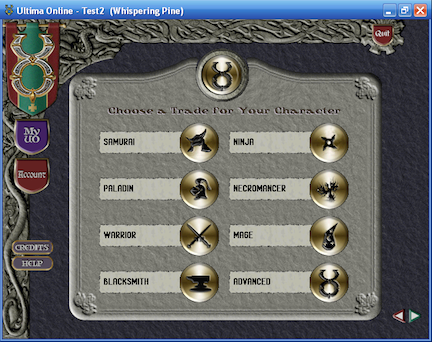
When first creating a character, you will be presented with the default UO selections for professions. Pick whichever you like. These are different than the custom WP quickstart class you will choose later.
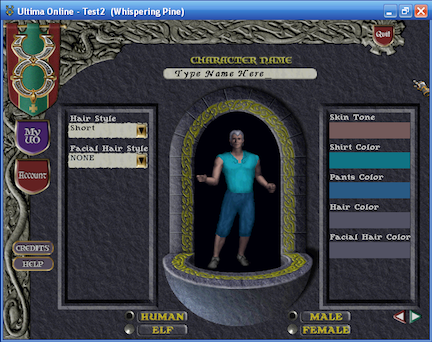
Name and customize your character here (hairstyles, gender, race).
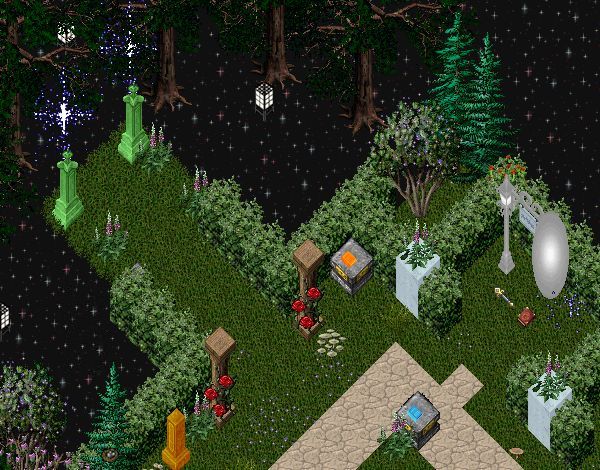
After that, you will be placed in the Whispering Pines starter area. This is what you should see when you are logged in.
Make your way East to the Class Gates where you will choose one of four "Quick Start" classes [Mage, Warrior, Ranger/Tamer or Crafter]. All your skills will be set to 70, and 6 skills key to your class will be set to 100. Your stats will also be adjusted for your class. You may read the light blue books located in that area to find out which skills and stats will be changed for each class. There is also a red gate called "No Bonuses Gate". This gate will not touch your skills or stats, but will instead transport you directly to the WP world. Use the red gate for a more challenging start in WP.
Choose carefully, as once you go through a Class Gate, you will be placed at Britain Bank to begin your adventure. DO NOT go through a gate until you are ready! You may only go through one gate. We do not honor "Do Over" requests because you chose the wrong class or went through the wrong gate.
Once in-game at Britain Bank, you can chat in public by typing [c and the text you want to say. For example:
[c Hello Whispering Pines!
Our players, if not afk (away from keyboard) are usually very friendly and helpful. Ask in public using [c and your text if you have any questions. You can take a quick tour of the shard by typing [tour.
We suggest that all players do Lothar's apprentice quest, which will net you a nice set of starter gear. You can find Lothar by going to the Guardian Travel Gate, choosing Custom Destination, then Lothar's Quest.. Hand him the purple letter from your backpack and listen to what he tells you to do.
We look forward to seeing you in the Pines! If you are having any issues installing the client, email us at wpwebsite at earthlink.net
